Getting Started
Widgets
In this section you will find information about widget setup, requirements and how to insert them in your Elementor pages. For detailed information on widget available options, refer to the corresponding widget documentation.
Elementor plugin required
Enabling a widget
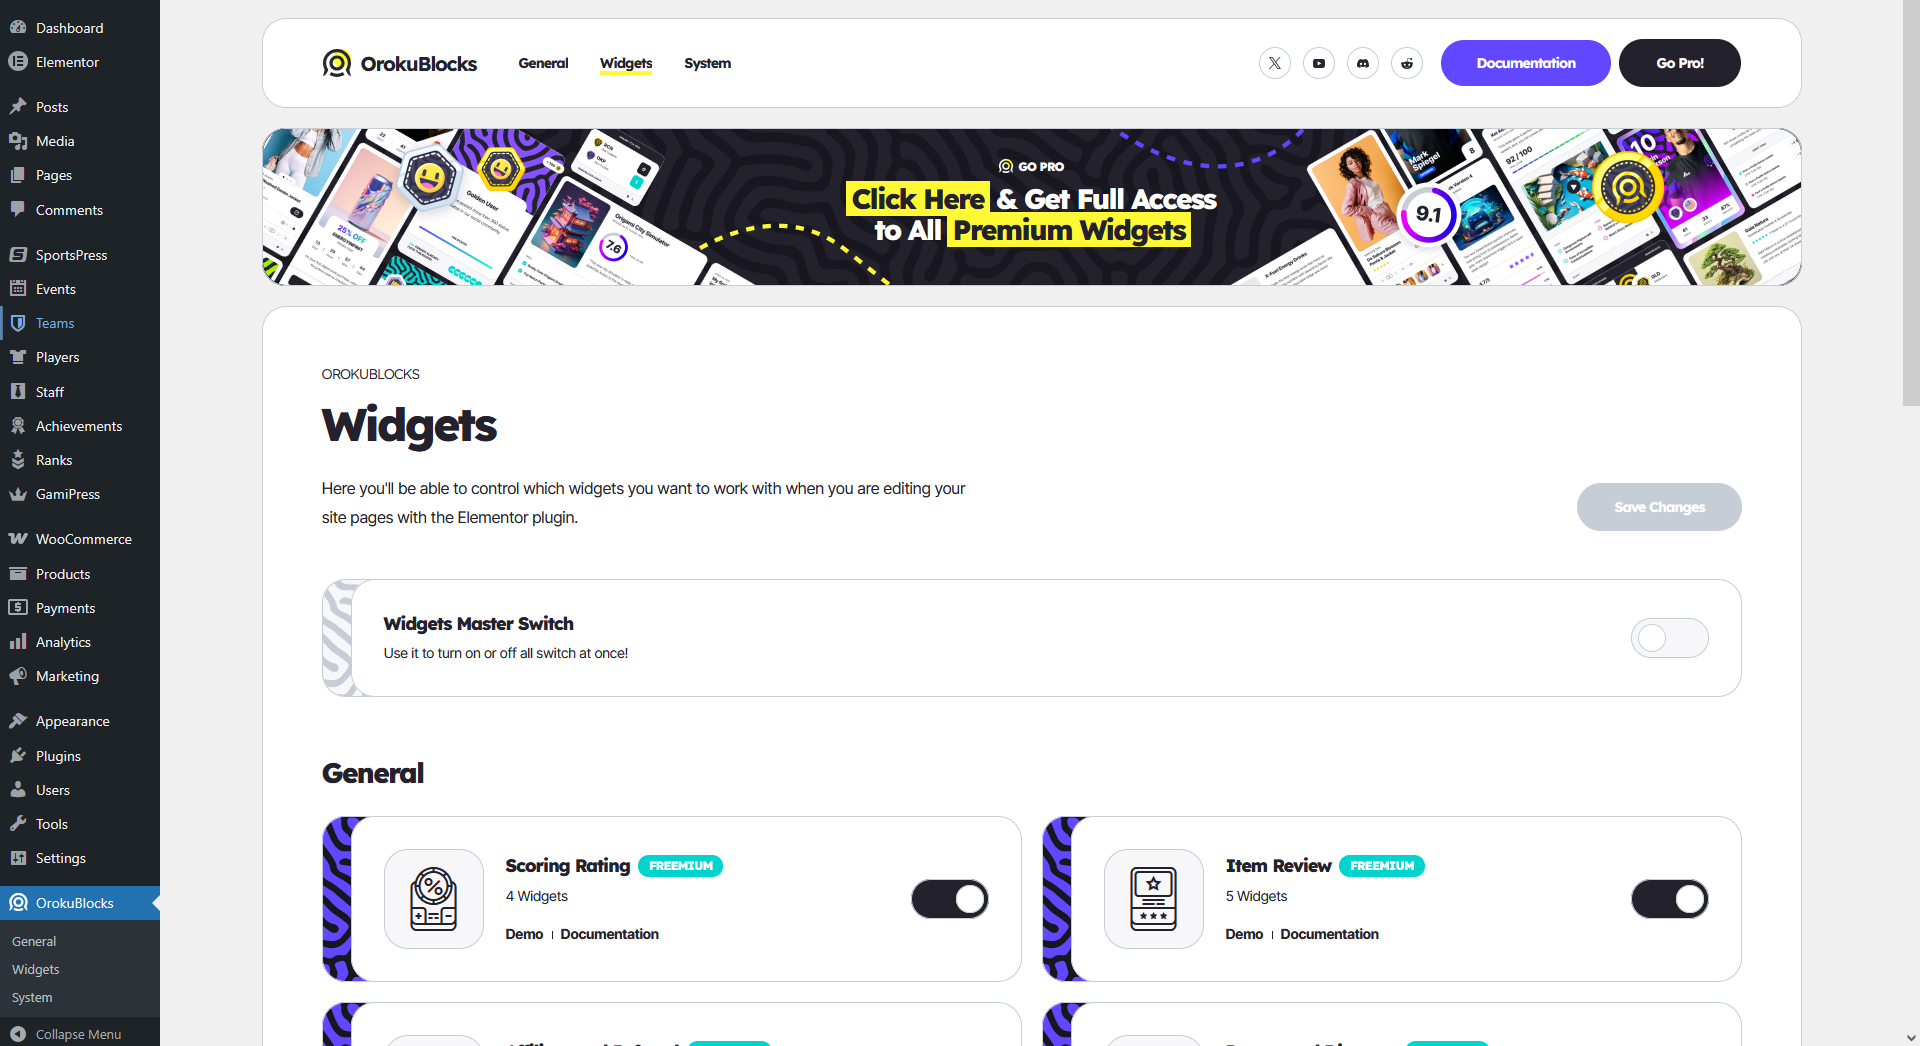
You need to verify that a widget is enabled in the OrokuBlocks backend options. You can enable and disable widgets from the plugin Widgets page.
Creating a page for a widget
To use the widgets you have to insert them in an Elementor page. First, we are going to create a page and edit it with Elementor, go to your WordPress dashboard and follow these steps:
- Go to Pages > Add Page
- Add a Title to your page and click on Publish
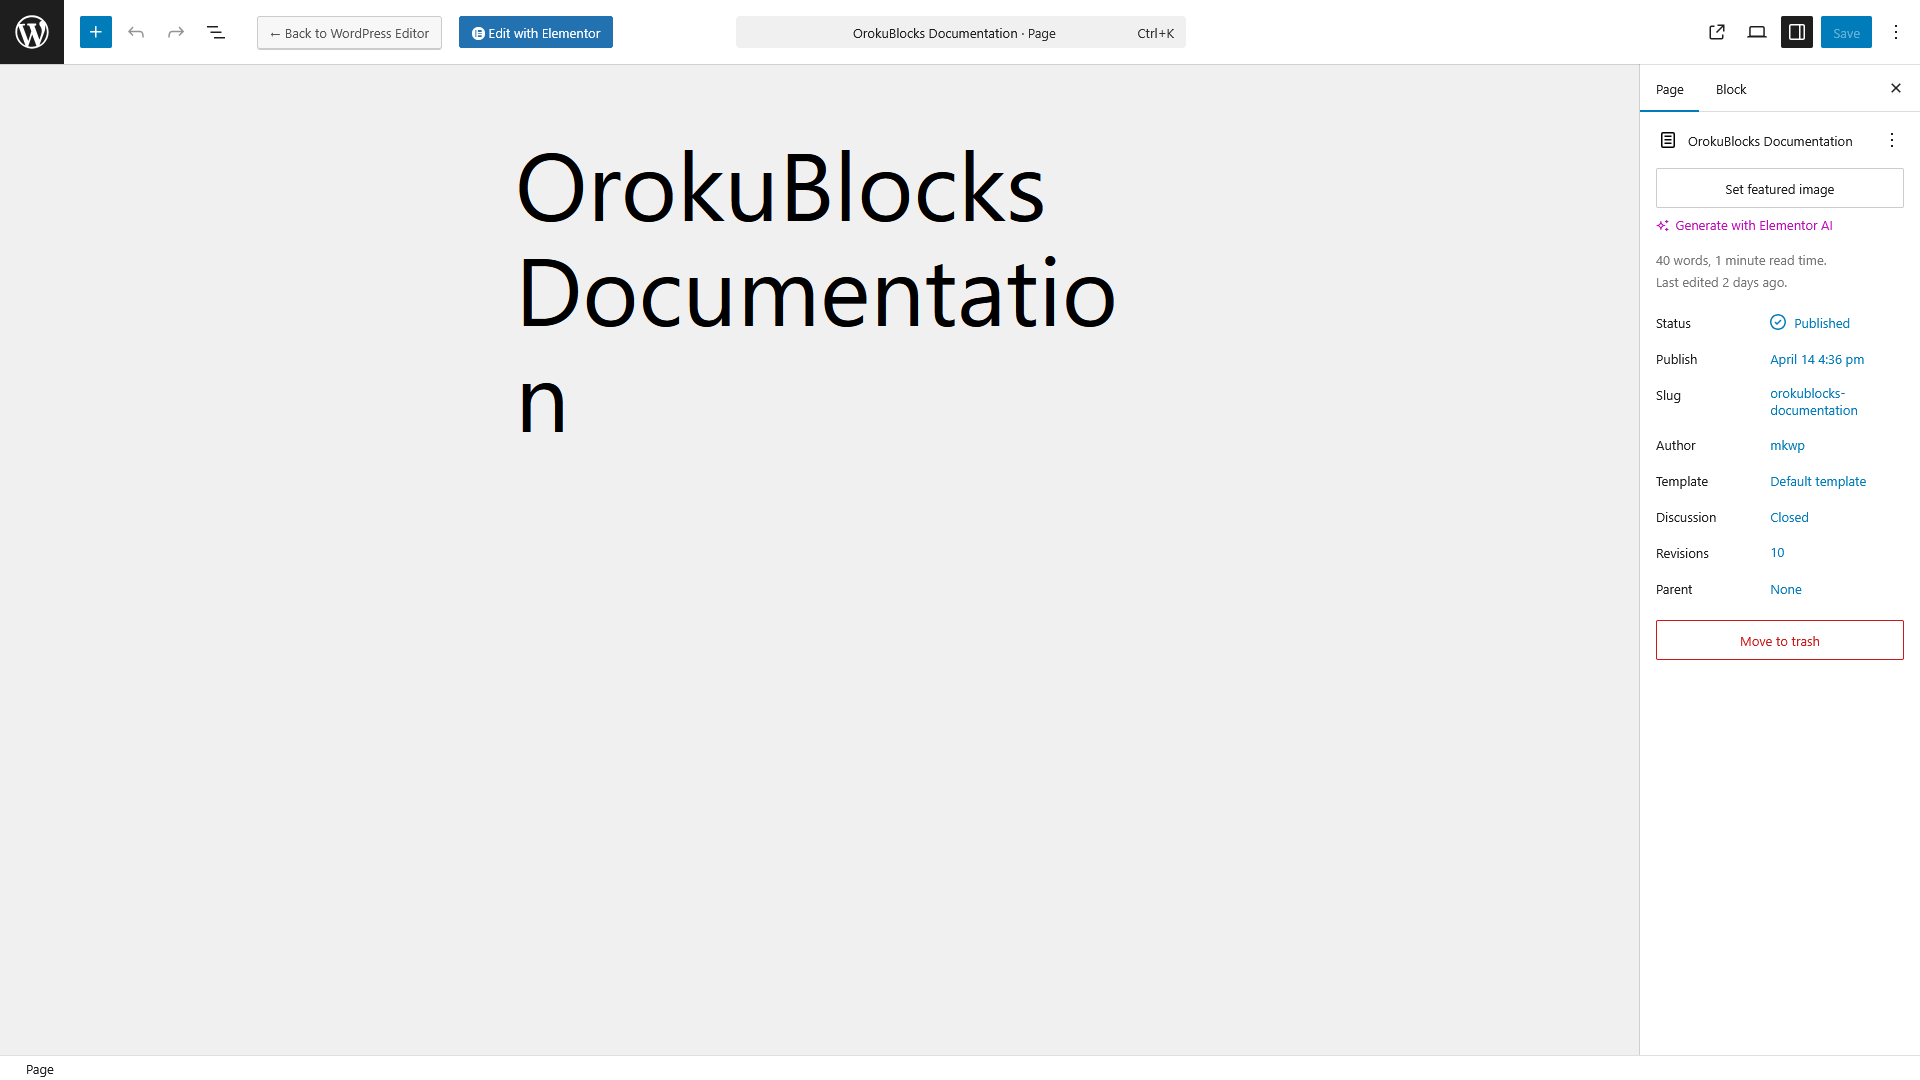
- Click on the Edit with Elementor button that is on the top left side of the screen
- The Elementor page builder will open.
Searching a widget to insert
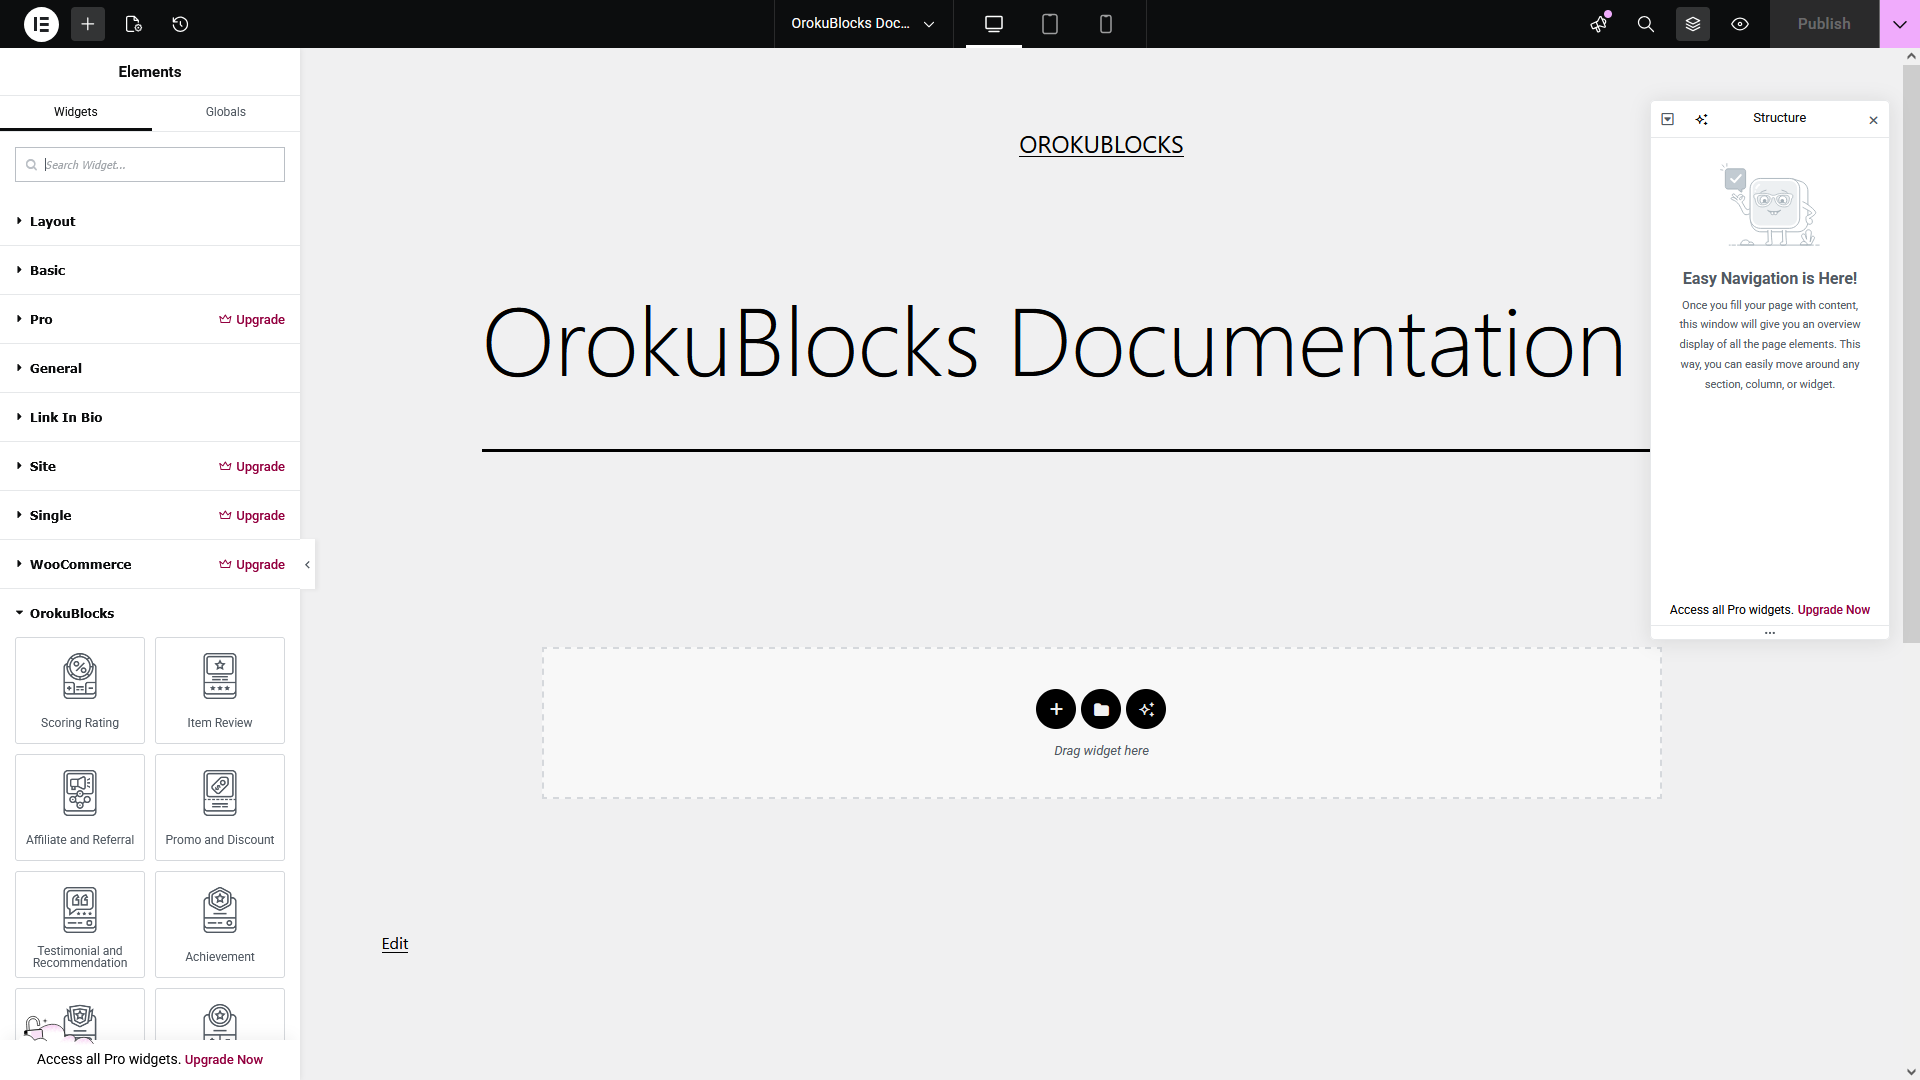
Now that we have created the page and have the Elementor page builder open we can begin inserting widgets. On the left side of the screen is a sidebar with a list of widgets that you can drag and drop on the page.
There are two ways of locating the widgets that are added by the OrokuBlocks plugin. You can either find them manually or by filtering the widget list:
Find the widget manually
You can click on the sidebar category headers to expand or collapse the widgets included in the corresponding category. You can combine this with scrolling down the list to help you find the OrokuBlocks header quickly. All available widgets will display under it.
Filter the widget list
- Enter "orokublocks" in the Search Widget... input at the top of the sidebar
- The sidebar will display a filtered list of the widgets
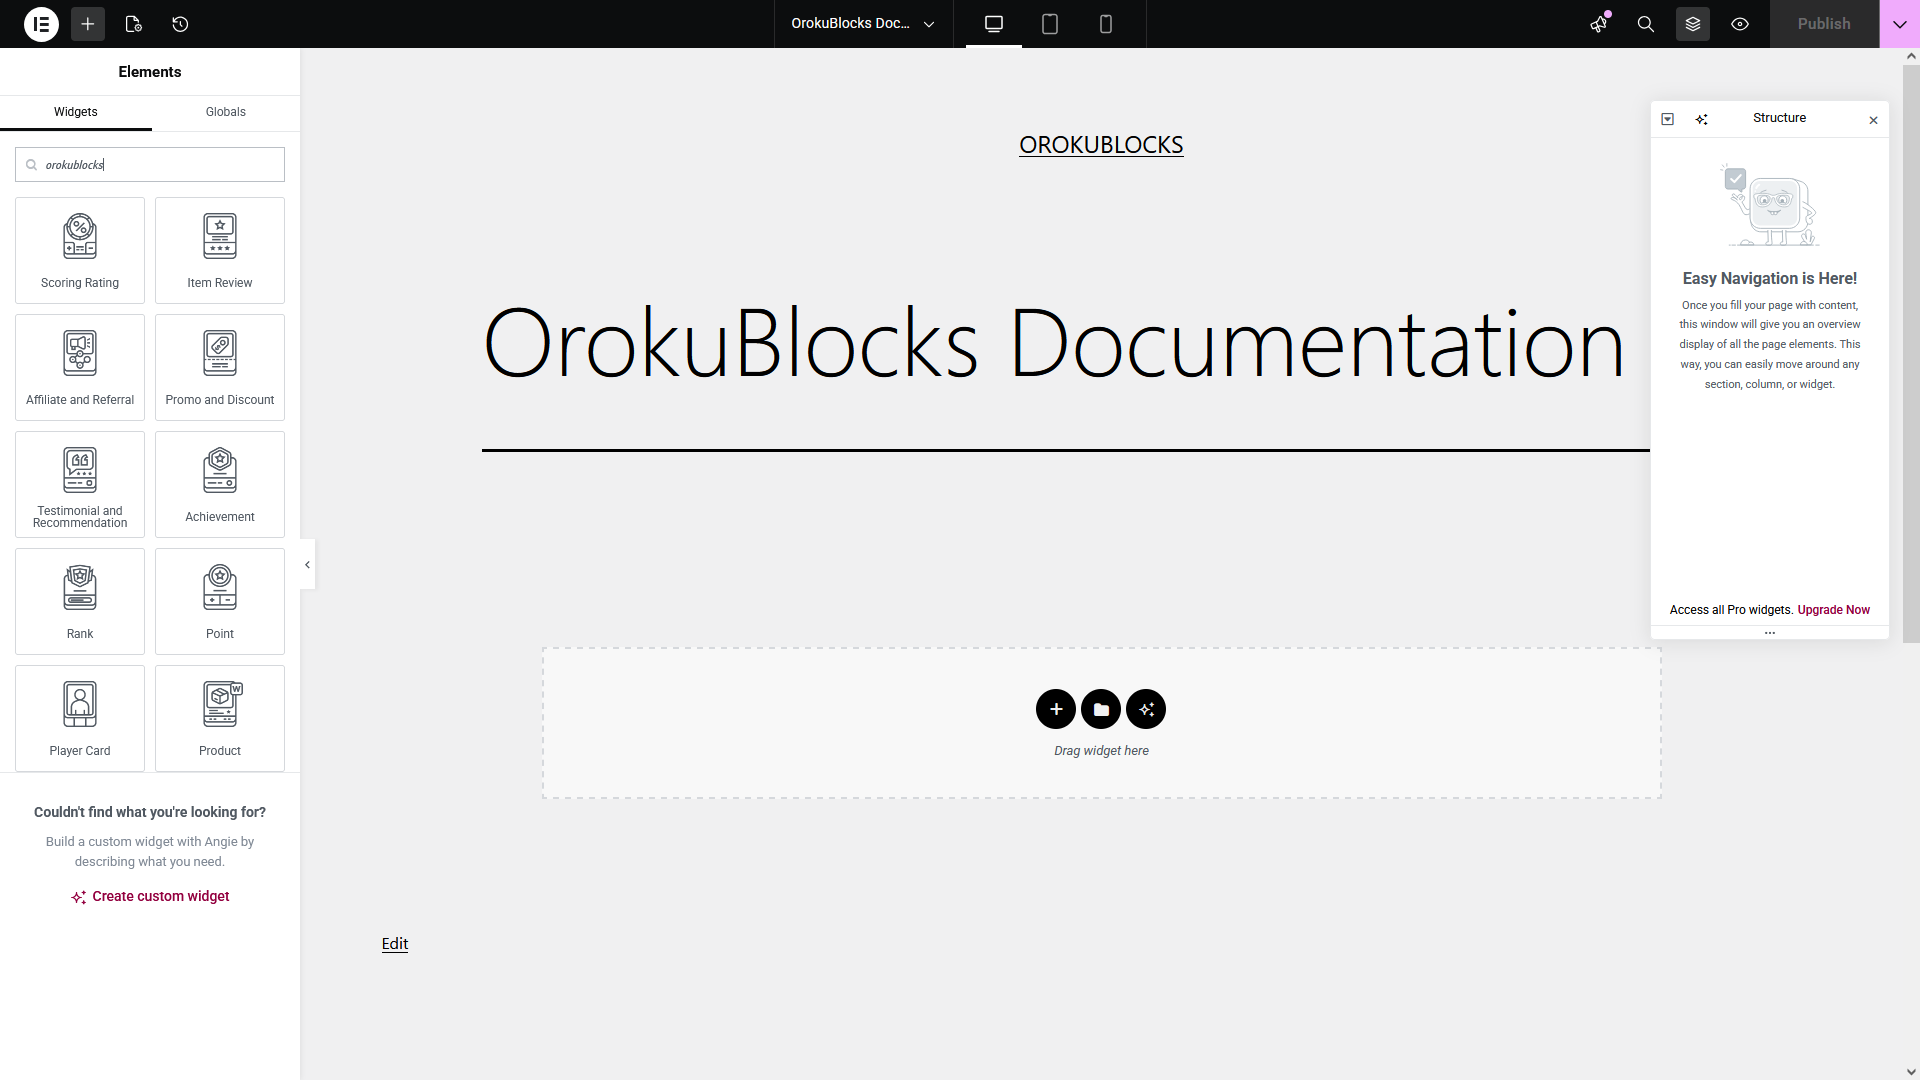
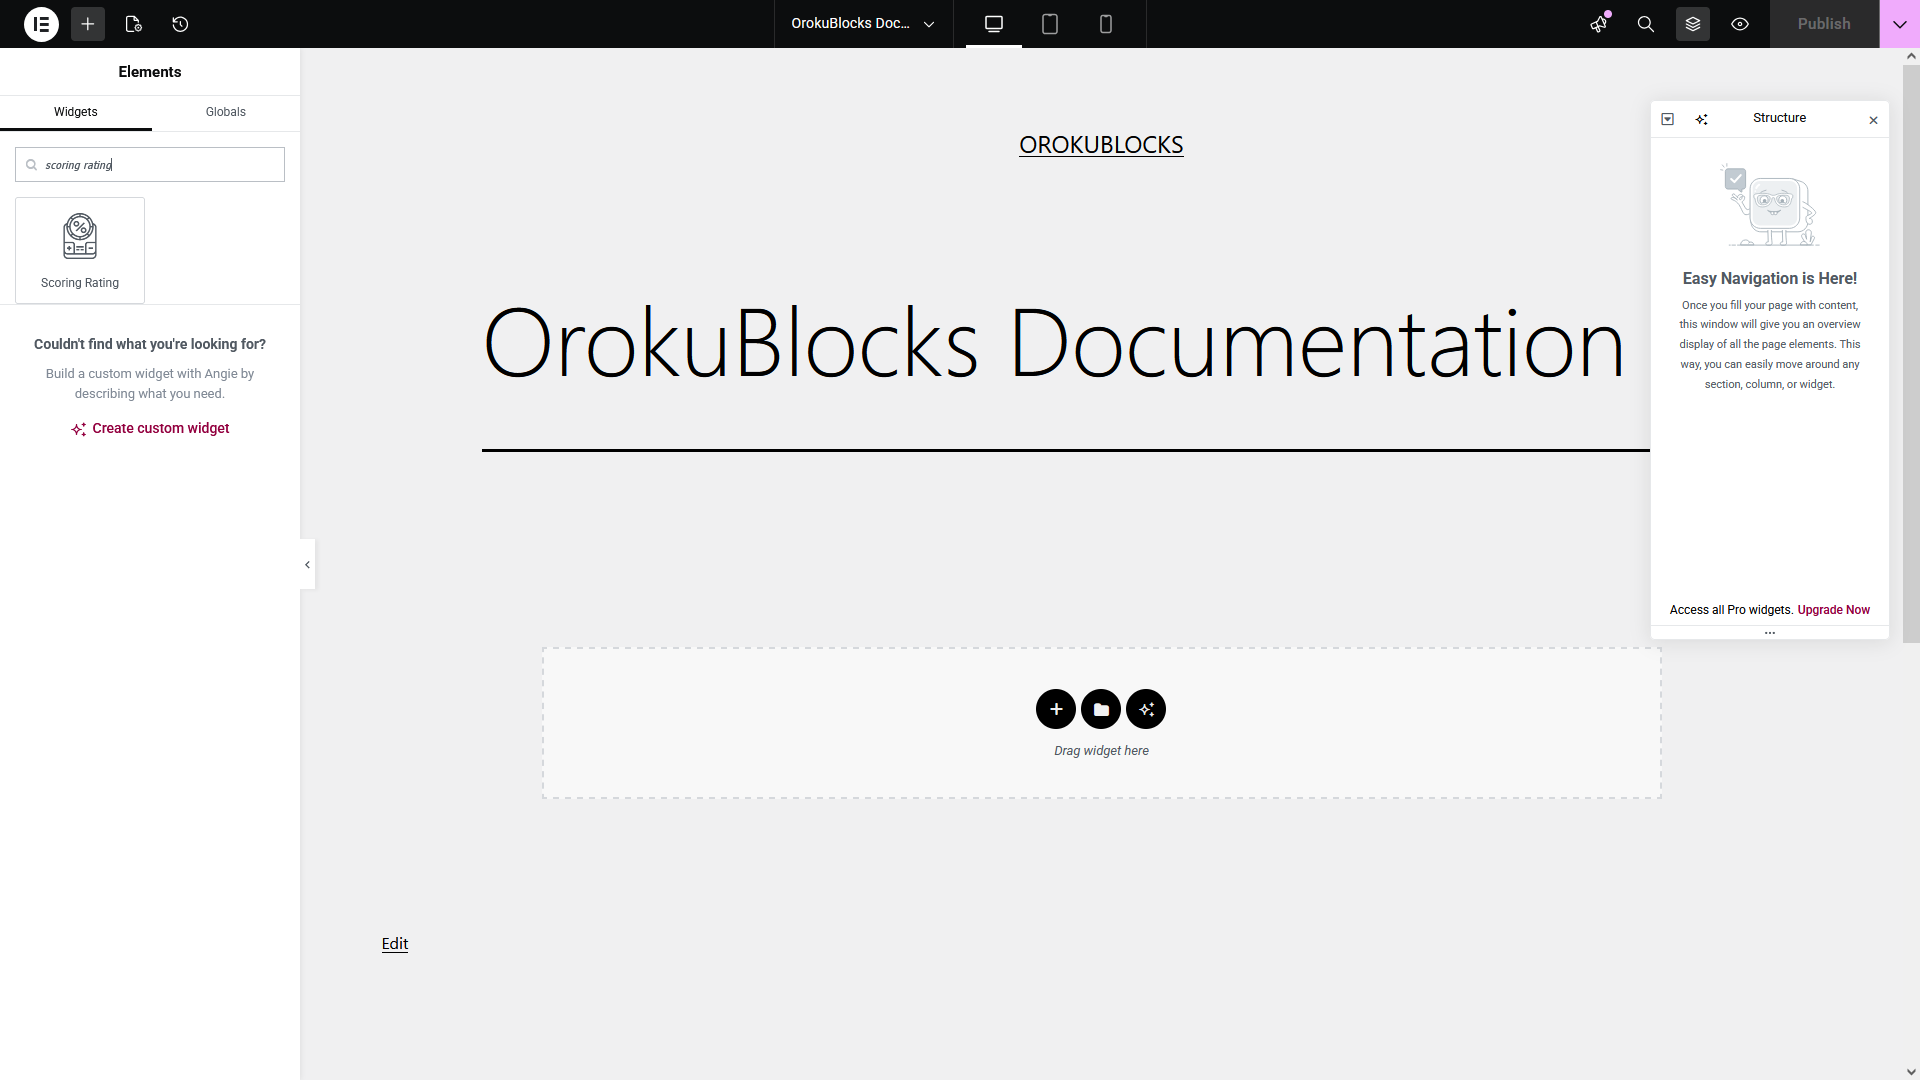
- You can also enter the widget name, or part of it, in this example "scoring rating", in the Search Widget... input at the top of the sidebar
Inserting a widget on a page
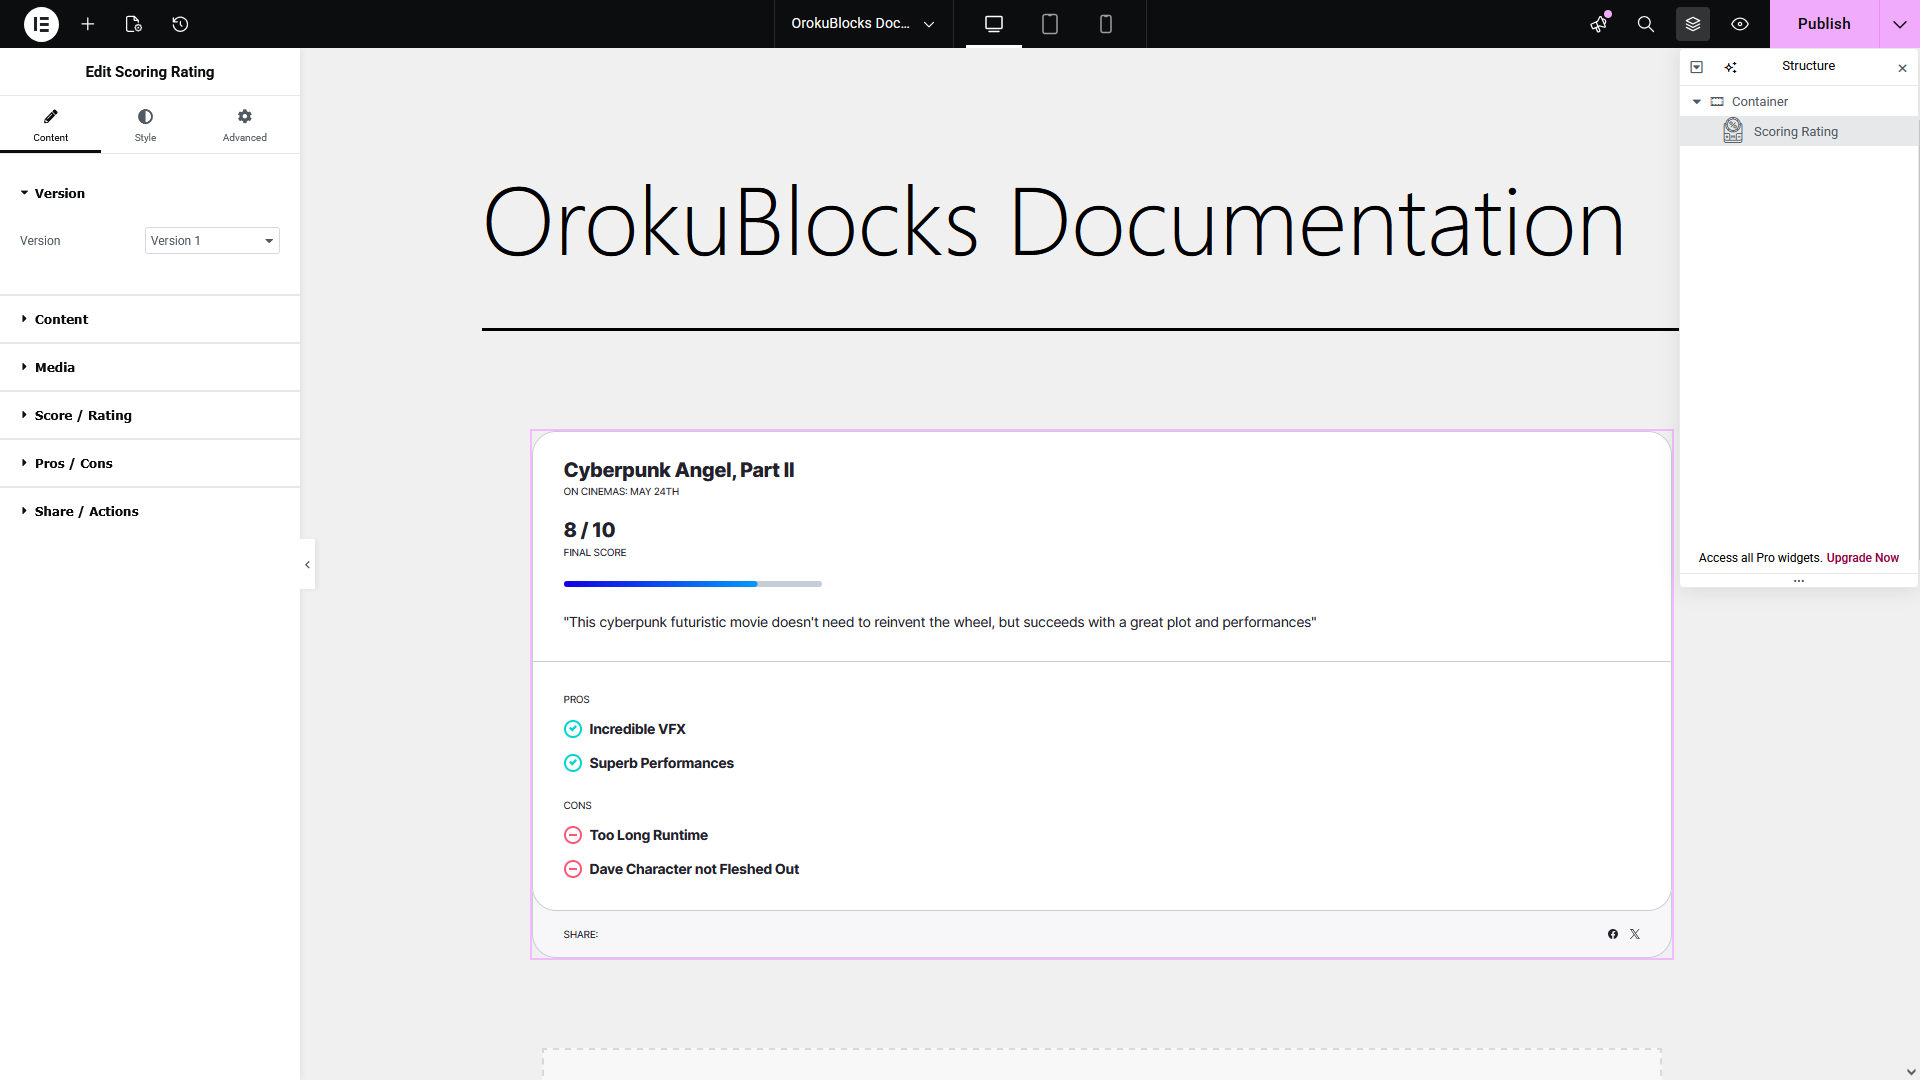
Inserting a widget on a page is very easy, just drag and drop the widget you want into a container inside the page. For this example, we are going to insert the Scoring Rating widget:
Customizing a widget
You can customize a widget to your liking by using the options available in the left sidebar while having the widget selected.
We divided options in categories and groups to make them easy to locate and use. There are 2 categories, Content and Style, that as their name describes divide the options in ones that change the content and others that change the style of the widget. You can select each category by clicking on each tab of the left sidebar.
Each category also has its options grouped together depending on what part of the widget they allow to customize.
Widget options
For this example, we are going to use the Scoring Rating widget we previously inserted and change its version and theme:
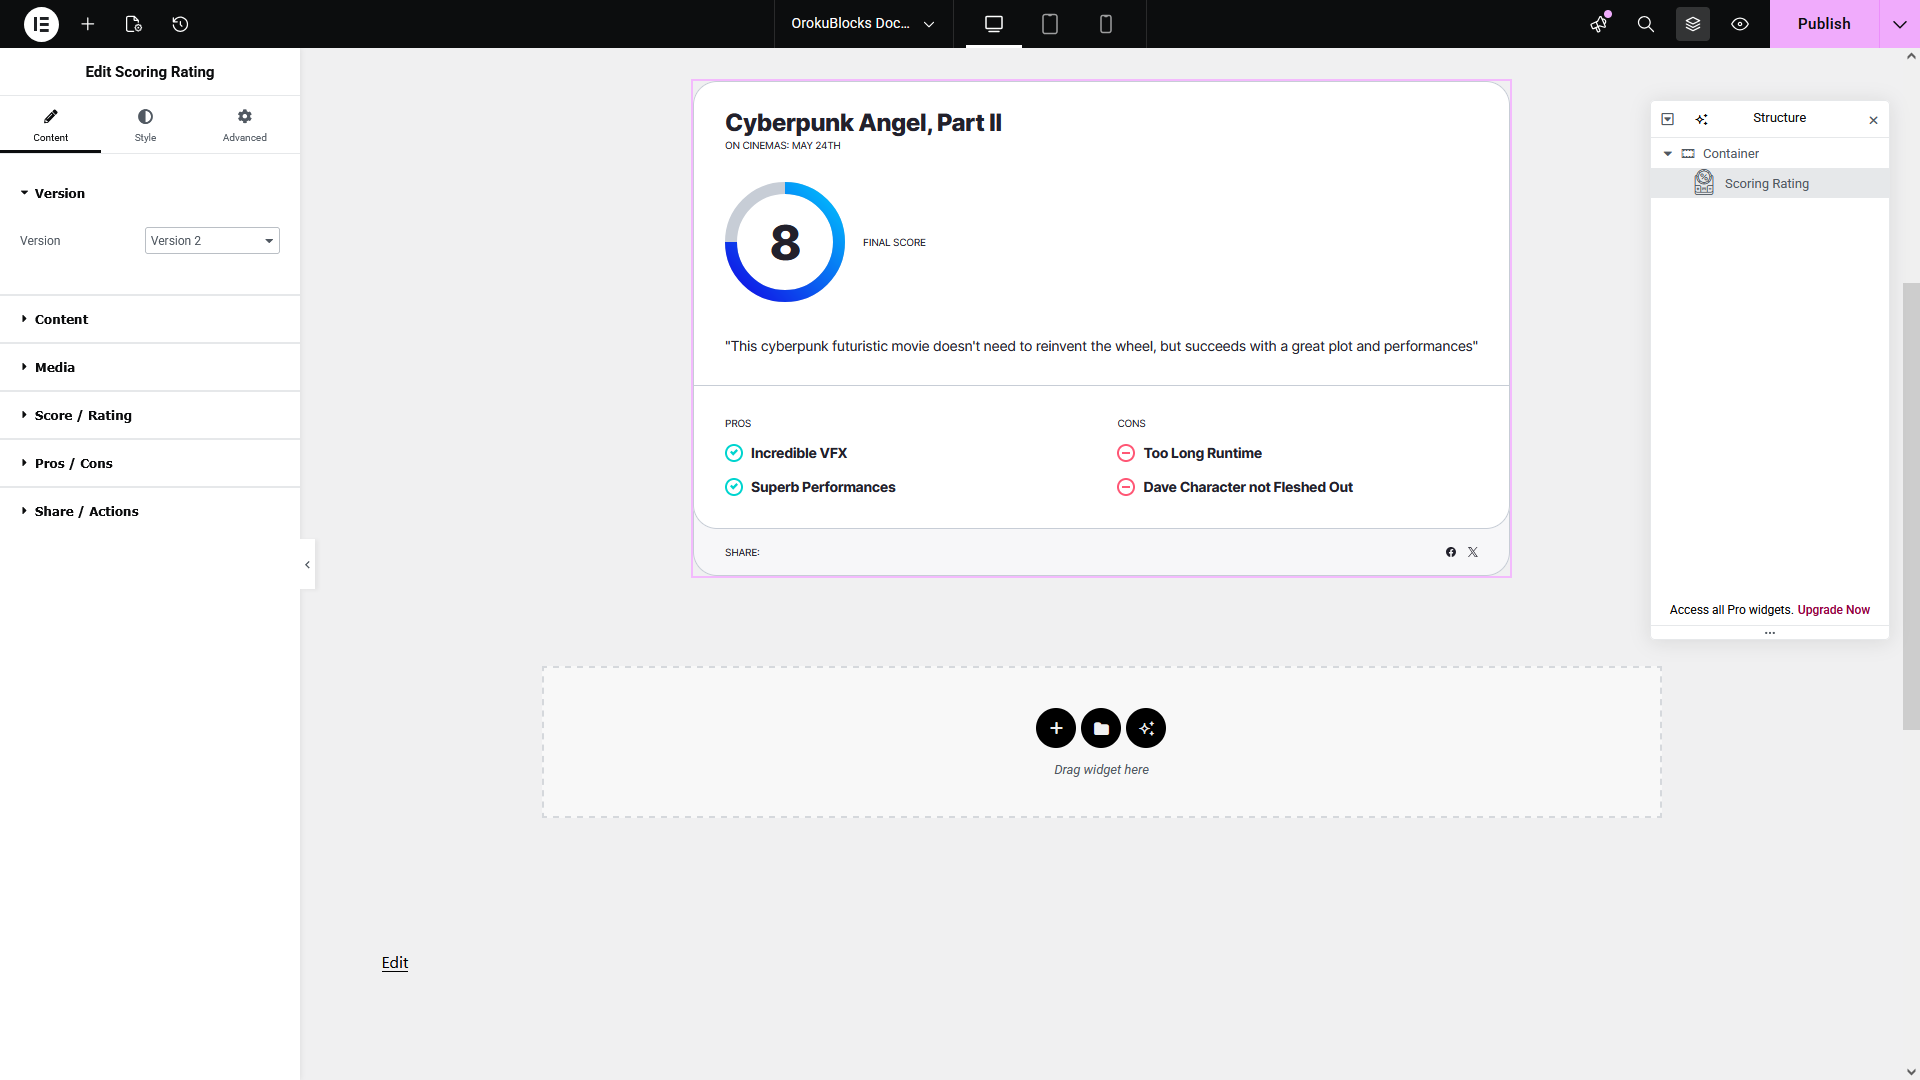
- Click on the Version control in the left sidebar and change it to Version 2
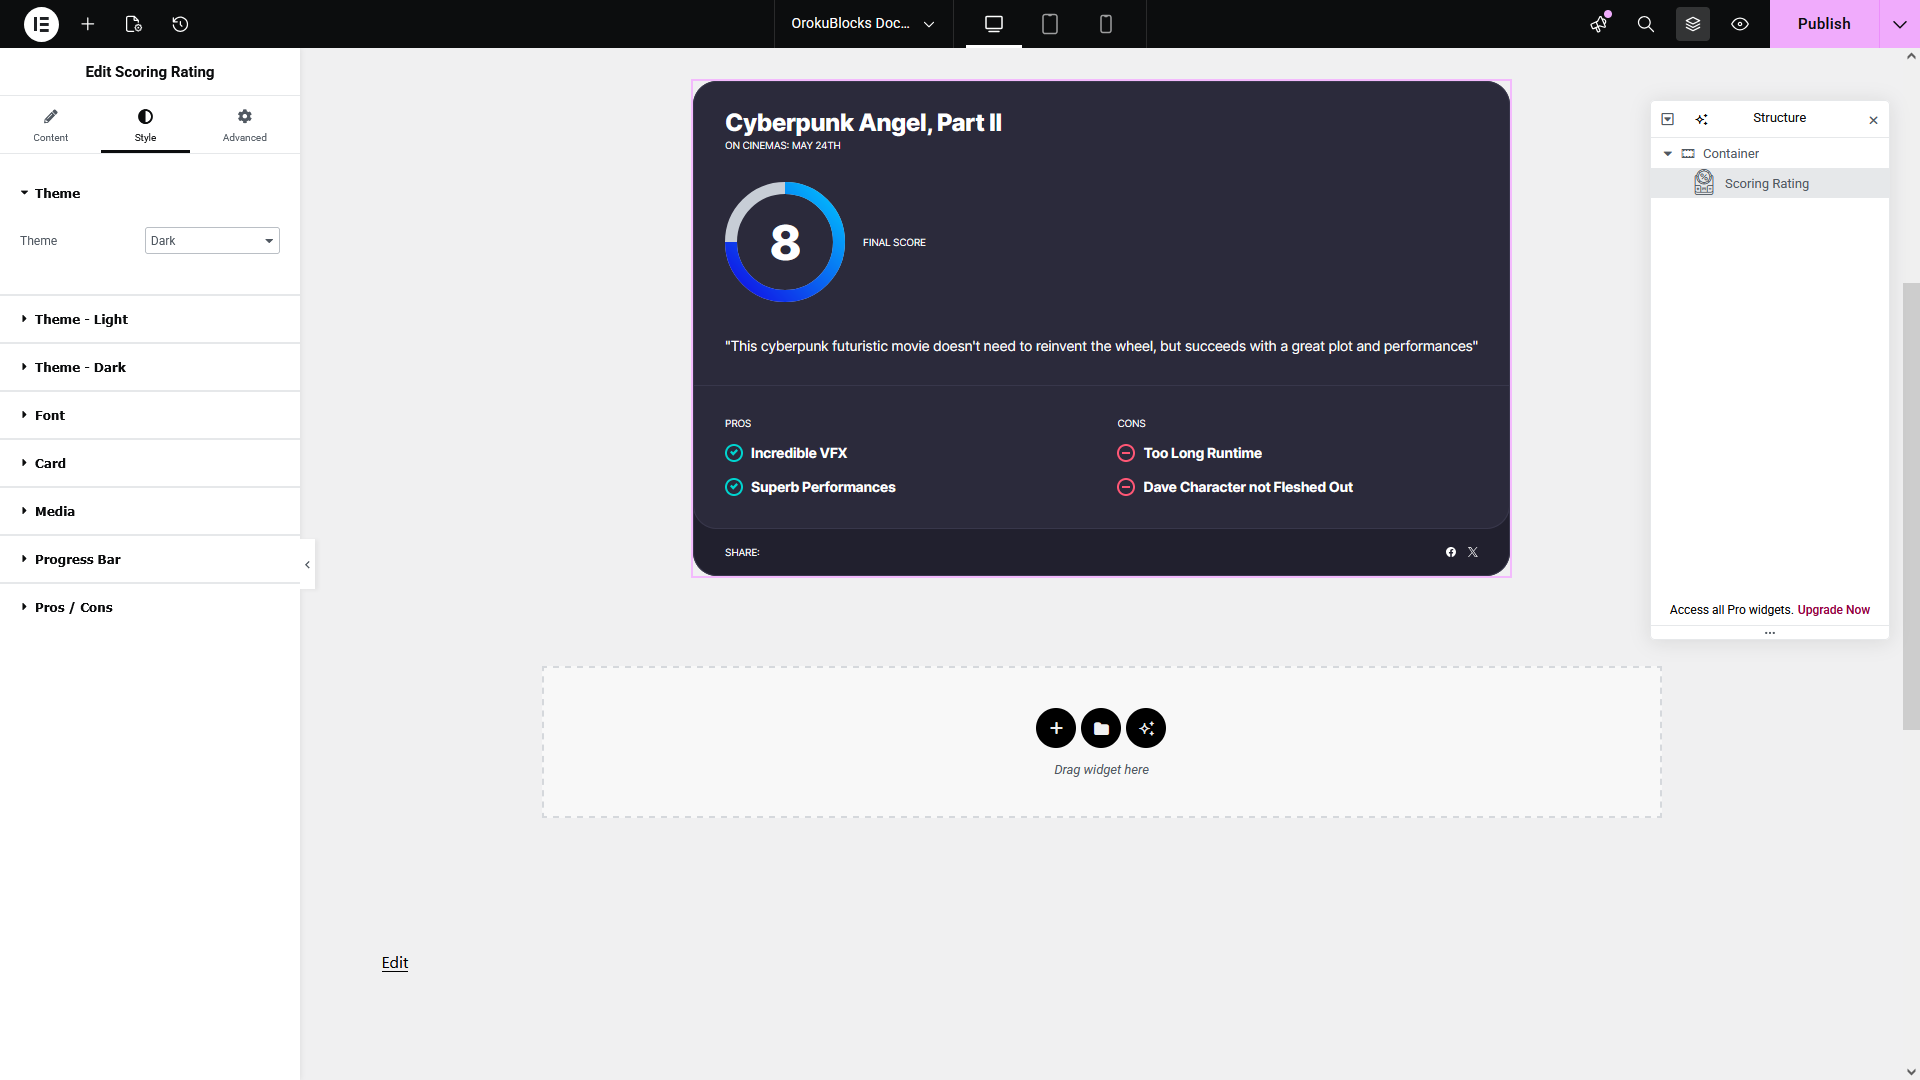
- Move to the Style category by clicking on the corresponding tab control at the top
- Click on the Theme control in the left sidebar and change it to Dark
- Click on the Publish button at the top right of the screen to save your changes
That's it!, we highly recommend taking a look at the documentation of the widget you are going to use to check if there is setup that is needed to be done before using it, like plugin requirements, having data previously available, how to display it, etc.